Sales Order Report Demo
Overview
This demo demonstrates the process of creating a report to display sales order data that is previously processed in supOS platform.
Operation Process

Creating Data Source
You can either create data in supOS or call data from existing database. In this section, adding data through form template attributes is used as an example.
For connecting data from third-party database, see Third-party Database Connection.
- Log in to supOS platform, and then click
 to go to the design center.
 - Select Object Model Management > Object Template > Form Template, and then click
 to add a sales template.
 - Inside the template, click Attributes tab, and then manually add all fields necessary in sales order report as attributes of the template.
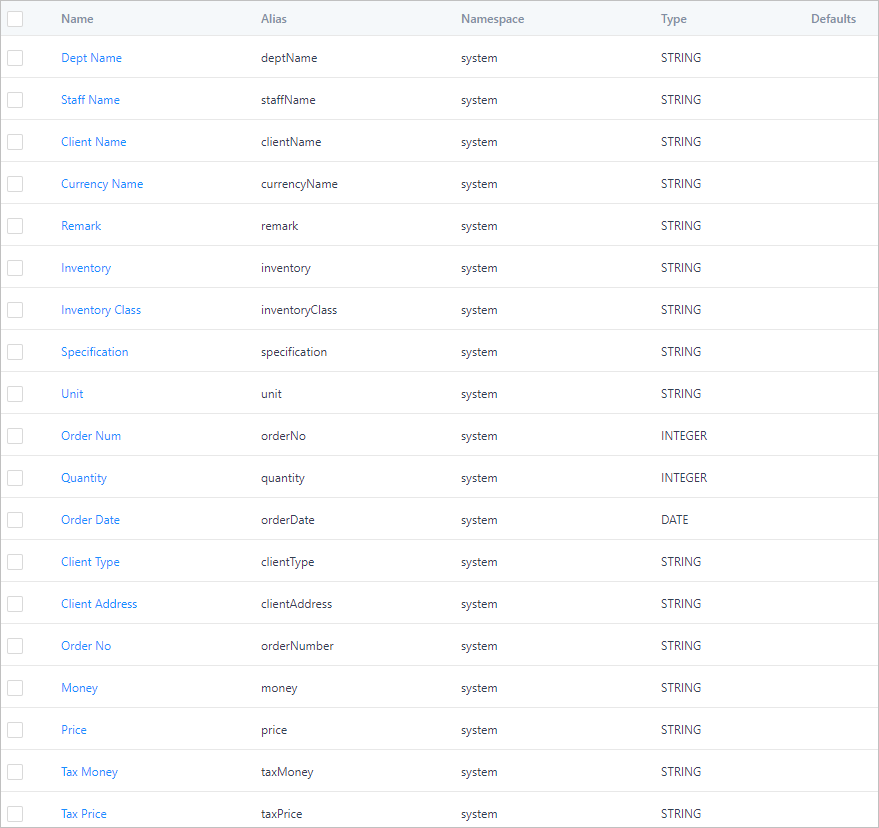
- Select Object Model Management > Object Instance, find the template you created, and then add order data to fill all attributes.info
Each attribute with instance data is a complete row of data in the form.
Processing Source Data
Create a service under the template to get the data you need.
- Under the template, add a new service named Data, set input and output parameters and write the script below to get revenue data from the form template.
- Add an input parameter named clientName with data type of string.
- Set output type to JSON.
- Debug the script and copy the result to Return Format under Basic Information.
var ArrayList = Java.type("java.util.ArrayList");

var sql = "select system_clientName client" //get client name and corresponding revenue money in each month, and then display data by client name
+",sum(case left(system_orderDate,7) when '2022-04' then system_money else '0' end) m202204"
+",sum(case left(system_orderDate,7) when '2022-03' then system_money else '0' end) m202203"
+",sum(case left(system_orderDate,7) when '2022-02' then system_money else '0' end) m202202"
+",sum(case left(system_orderDate,7) when '2022-01' then system_money else '0' end) m202201"
+",sum(case left(system_orderDate,7) when '2022-12' then system_money else '0' end) m202212"
+",sum(case left(system_orderDate,7) when '2022-11' then system_money else '0' end) m202211"
+",sum(case left(system_orderDate,7) when '2022-10' then system_money else '0' end) m202210"
+",sum(case left(system_orderDate,7) when '2022-09' then system_money else '0' end) m202209"
+",sum(case left(system_orderDate,7) when '2022-08' then system_money else '0' end) m202208"
+",sum(case left(system_orderDate,7) when '2022-07' then system_money else '0' end) m202207"
+",sum(case left(system_orderDate,7) when '2022-06' then system_money else '0' end) m202206"
+",sum(case left(system_orderDate,7) when '2022-05' then system_money else '0' end) m202205"
+" from system_sales group by system_clientName"

var input = {
 sql: sql
};
var res = templates['system.sales'].querySQLExec(input).data.dataSource; //get field information from the template

var result = {
  list:res
}

result;
In the example above, system is the namespace of all attributes.
 2. Add another service named getClientNameList to get a list of client names for future use in report design.
var sql = "select distinct(system_clientName) client from system_sales "
var input = {
 sql: sql
};
var res = templates['system.sales'].querySQLExec(input).data.dataSource;
var result = {
  list:res
}
result;
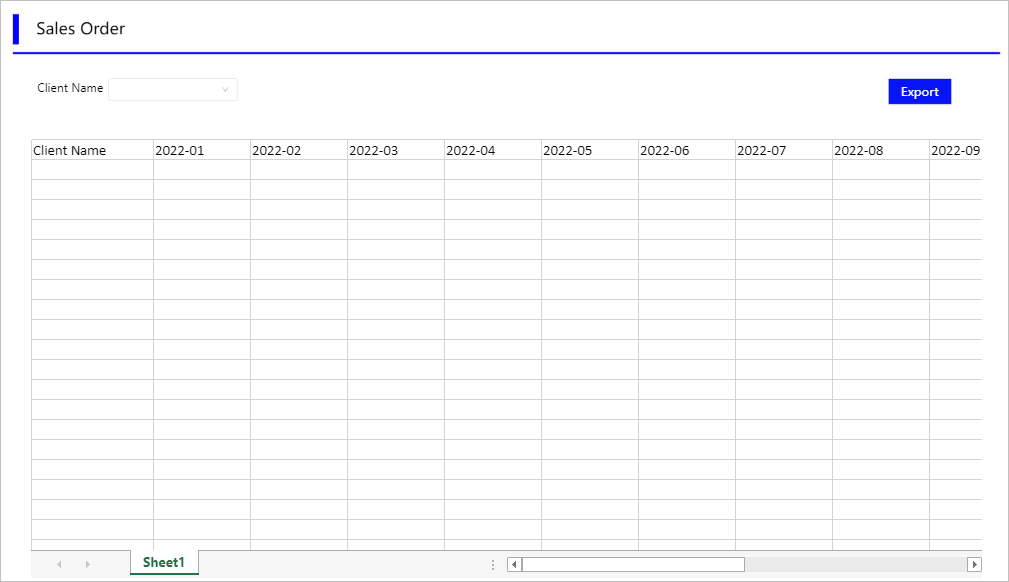
Creating Sales Report Page
Create a page to display processed sales order data.
- On supOS platform, select Business Designer and then create an application.
- Add a new page.
 info
infoData in this example is for reference only.
- Add data from Data service to the report.
 info
infoOperations on the report element are similar to those on Excel. You need to add headers manually before dragging fields to it.
- Add options from getClientNameList service to the drop-down list.

- Link the drop-down list to the report.
- Add script to Export button.
var report = scriptUtil.getRegisterReactDom('htDiv-l7r2gryv0-448').report; //get data from the report element
report.doExport('xlsx');
 3. Save the page.
Demo Effect